So what we shall do is basically a trigger on one end if something happens on the other side. Here are the steps to connect and integrate your Typeform with Gmail using Zapier. Also Read:
First and foremost, head over to Zapier and create your free accountSelect the account type and choose apps you mostly use for recommendations and existing ZapsAs you can see from the screenshot below, you will have 1000 tasks on the free plan.Select Typeform and Gmail on the other side to continue alongside meThen press Try itConnect your Typeform account if you already have one.Scroll and select ContinueI will assume you have a Typeform already created as per this article we wrote sometime;Now connect your Gmail to be able to read, send and draft emails using Zapier
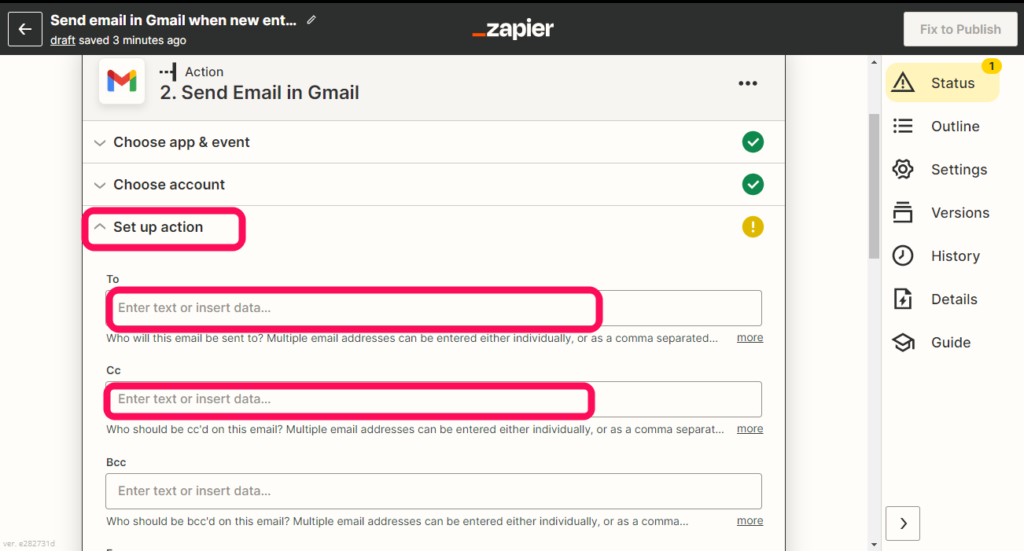
Fill out the email fields, especially the required ones; So this zap will send an email every time a new entry is made on the Typeform I createdFirst, do a test before you publish to make sure everything is right.You can now hit the Publish Zap button
Ensure to hit Publish & Turn On button from the popup for your Zap to be live. This means every time someone fills out my form, an email is sent from my Gmail to someone I specified in the Action above.
Conclusion
And that’s it! We have done our first Zapier Integration which just involved connecting three different accounts. We used Gmail and Typeform consent to enable the integration. Tell us which Integration you would want to see us do in the comment section below.